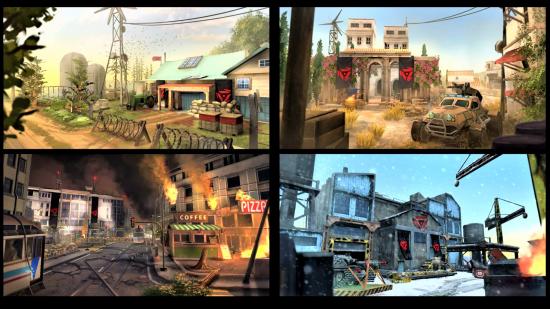
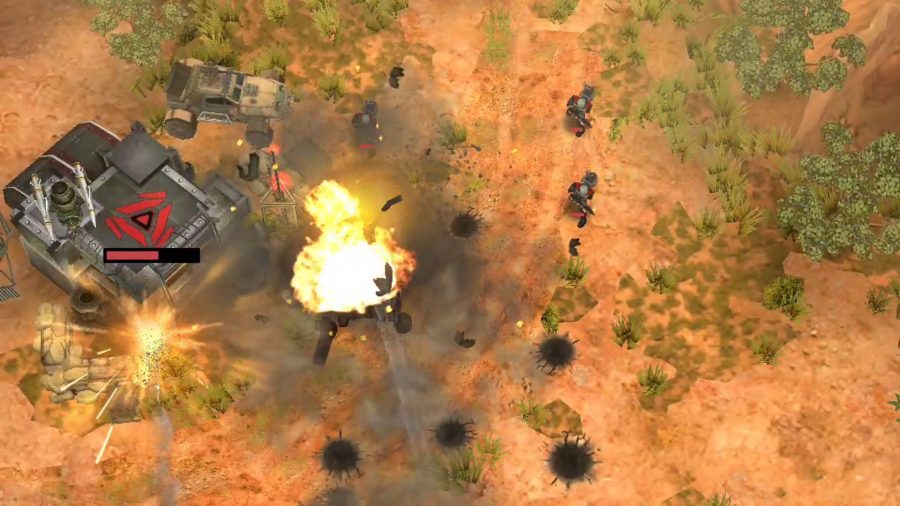
SIEGE: Apocalypse, a new card-based battler from Kixeye, doesn’t pull any punches. Straight from the first fight, you’re thrown into war-torn landscapes and tasked with pushing through the battlefield, taking control of strategic locations, and destroying every one of your opponent’s structures to defeat them.
And as your troops push up the map to fight, you can deploy several deadly and explosive tactics to decimate the oncoming squads and lay waste to whatever may stand in your way. There are plenty of ways to approach battles, whether you’re focused on spawning high-cost, high-damage vehicles or flooding the battlefield with cheaper units to overwhelm your enemy.
And you need to balance how many tactics cards you’re using with how many units you’re spawning, so that you don’t end up defenceless on the ground because of your love of firebombing your enemy’s units. However you prefer to play SIEGE: Apocalypse, there are some fundamentals that you need to consider when entering your first few battles and aiming to take your first wins.
Read on for some advice on how to get started on the battlefield, and ensure you crush your first few opponents.
Troops and Tactics
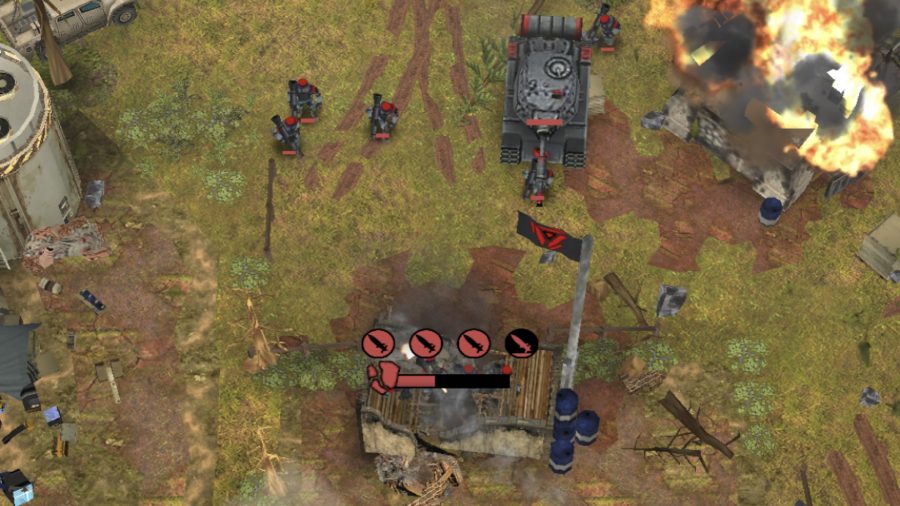
Cards in SIEGE: Apocalypse come in two different flavours – Troops and Tactics. Each card uses up a certain amount of Supply, which regenerates constantly throughout a match. Troops are your units on the ground who can deal higher, more sustained damage to enemy buildings, and can capture strategic points along the battlefield to expand the reach of your Tactics. Troops range from the cheap, low-health Rifleman to a ridiculously strong Battle Tank that comes at a high price, and which Troops you carry in your deck will depend on your playstyle – you can only have four on hand at a time, so choose wisely.
You also need to be aware that regardless of how deep into enemy territory you are, Troops from your deck only spawn at your base. You need to take into account how long they’ll take to travel from the start of the map to your current battleground before spawning them, since your opponent could flood their side of the map with Troops and take down your current squad before the rest of your army arrive.
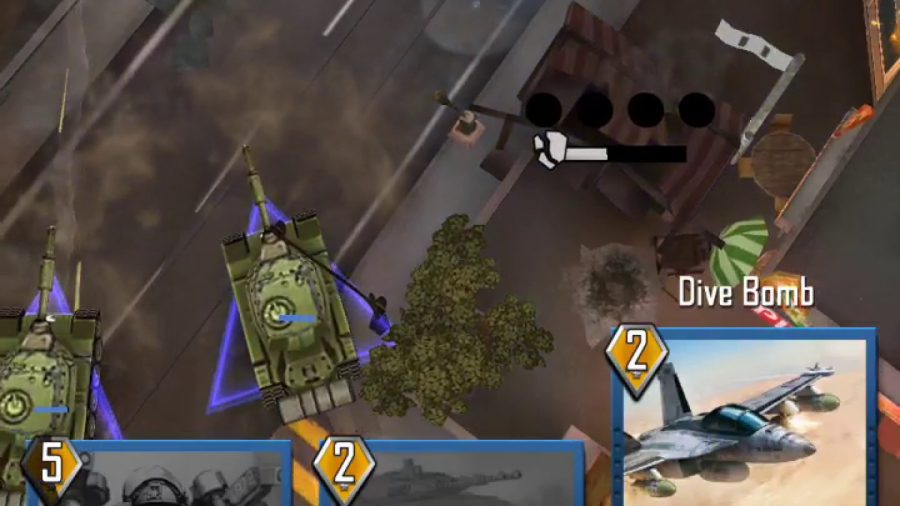
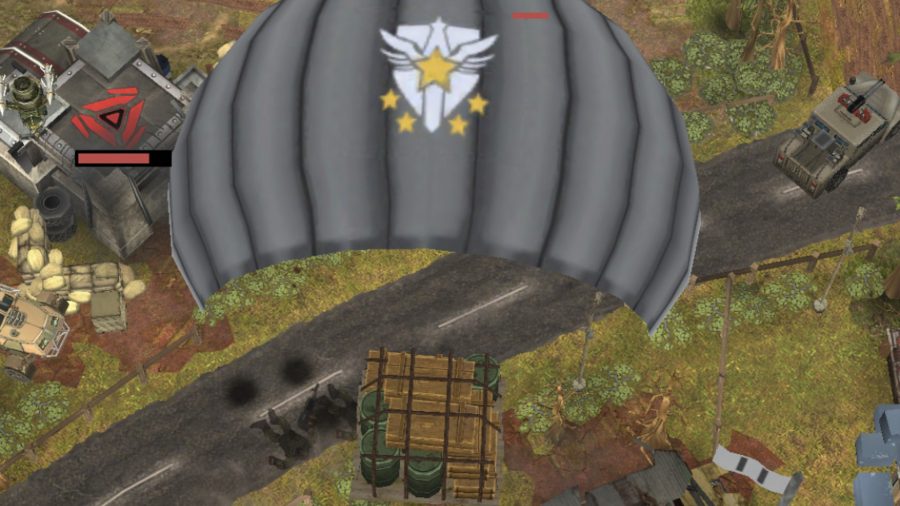
Tactics help to counter Troops and give you a much faster way of dealing damage than waiting for your Troops to arrive. You can choose up to eight for your deck, though you can only hold three in your hand at once, so if you’re waiting for the perfect Tactic to show up, you may need to quickly play another one to clear some space. Tactics can also be useful for deploying units further up the map, as they’re not stuck spawning at your base – but be aware that how far up the map you can place a Tactic depends on how many buildings you’re currently occupying. It’s all about balance.
Deckbuilding
No matter your playstyle, you’ll want some cheap infantry that can capture buildings. Without captured buildings, you won’t be able to deploy higher-cost Tactics that can spawn units higher up the battlefield than you’re able, or drop supplies to enhance your current squad.
If you prefer something a bit hardier than a Rifleman, keep the Rocket Launcher handy – but be aware that they cost twice as much to spawn, so you’ll be waiting longer to bring them onto the field.
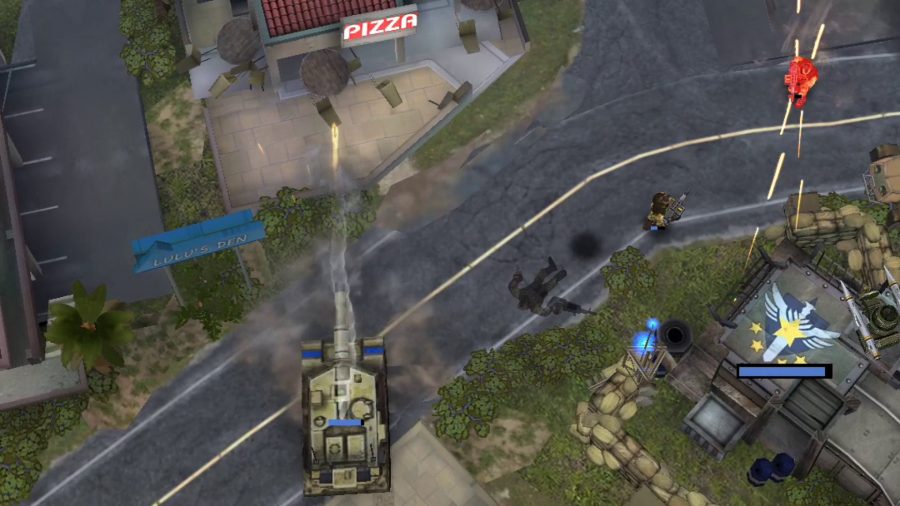
Your very first deck will give you a Battle Tank to deploy, and you should absolutely keep this on hand at all times. Not only will a Battle Tank deal huge damage to buildings, but they can act as a bullet sponge while the rest of your Troops march up the map. They’re not indestructible – a big enough swarm of Rifleman Troops can take down a Battle Tank if given enough time – but if you have enough Supply to hand, they can be a very powerful tool to have on hand.
You don’t have to be as regimented with Tactics as you do with Troops, especially since you’ve got twice as many cards to play with, so feel free to experiment here. Just remember that while offensive cards like Firebomb and Artillery Barrage are useful in a pinch, buffing cards like Ammo Drop can help turn the tide of the ground battle in ways your opponent might not see coming.
You can also combo certain Tactics to great effect – if you’re using an Outpost to spawn units directly into the fight, use an Ammo Drop right next to it to immediately buff any units that come out of the Outpost and give them a better chance of survival.
On the field
Your opening moves in SIEGE: Apocalypse can dictate your entire battle, but if you want to really throw your opponent off-balance, spawn a Battle Tank as soon as you start – you’ll have just enough Supply at the start of each battle to do so. This gives you some extra defence while you build up an infantry squad, and forces your opponent to respond to this incoming danger or risk losing a chunk of health on their first structure.
As mentioned, you should have some cheap infantry on hand – spawn those as soon as possible to take over the first couple of buildings and rapidly expand your Tactics space. Units that have captured a building will probably be the first to fall as the battle gets underway, so ensure you’re keeping these Troops topped up so your opponent doesn’t take your buildings and encroach on your territory.
The rest of your battle will be spent countering your opponent’s units and anticipating their attacks. You’ll get a small warning of which Troops and Tactics your enemy is deploying before they arrive, so keep an eye on the screen and plan what to deploy next accordingly.
And remember that you can win by just taking down one enemy structure – if you’re keen to secure the victory, you can try and clog up the field with Rifleman Troops to slow your opponent down and stop them from taking revenge.
Whether you want to overwhelm your opponents with sheer numbers or assert your dominance with a small battalion of heavily armoured vehicles, SIEGE: Apocalypse has a wealth of interesting tactics and powerful cards to play and demonstrate your tactical prowess against opponents around the world. Show off your own skill today in this free-to-play battler, available on the App Store and Google Play.
