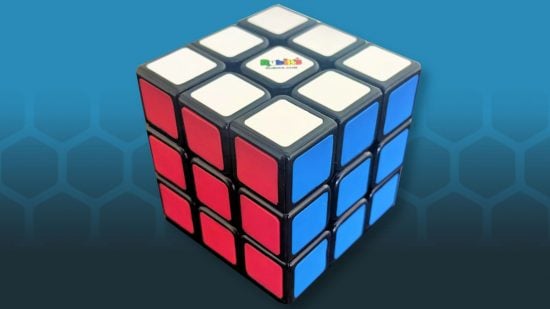
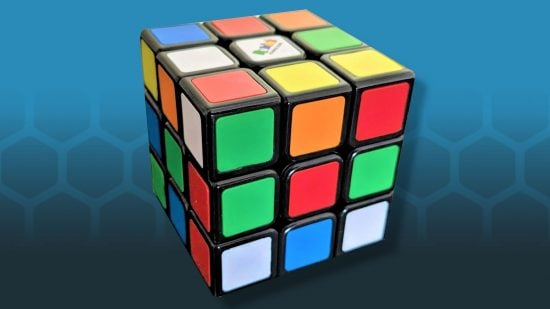
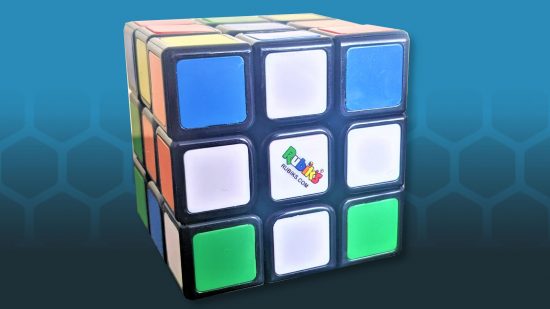
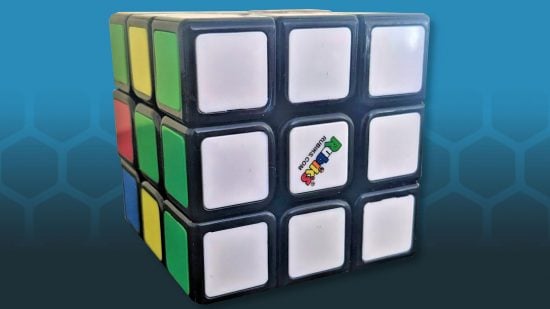
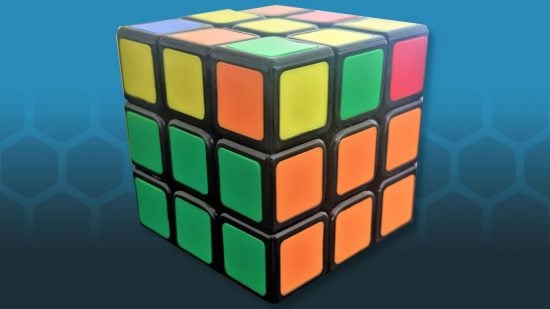
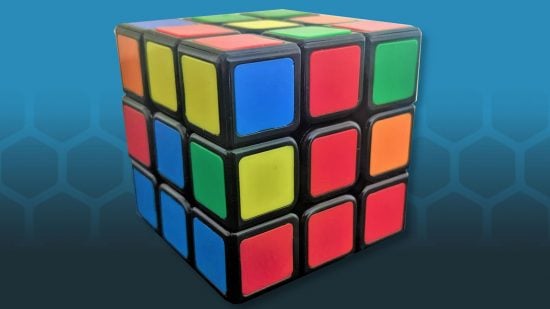
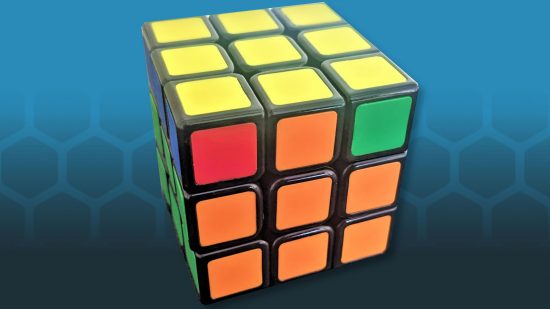
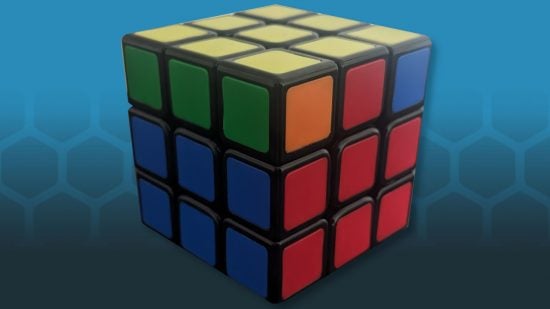
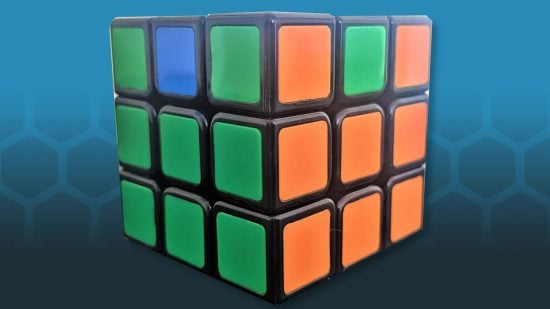
Always wanted to learn how to solve a Rubik’s Cube? We don’t blame you. These tantalizing cubes are as addictive as they are tricky, and beginners can quickly get lost in a sea of color combinations. But there is a knack that, with a bit of practice, isn’t too hard to pick up. We’re here to teach you the basic Rubik’s Cube algorithms you need to learn how to solve a Rubik’s Cube.
There are actually many ways to solve a Rubik’s Cube, but we’ve chosen our favorite. While we’re lovers of complex strategy board games, we think many of the best board game experiences involve simplicity. That’s why we’ve gone with what we think are the most beginner-friendly Rubik’s Cube algorithms.
Here’s how to solve a Rubik’s Cube:
- 1. Learn Rubik’s Cube algorithms
- 2. Make a cross on the white face
- 3. Complete the white face
- 4. Solve the second row
- 5. Create a yellow cross
- 6. Solve the yellow face
- 7. Solve the remaining corners
- 8. Solve the final edges
1. Learn Rubik’s Cube algorithms
The simplest way to learn how to solve a Rubik’s Cube is to learn Rubik’s Cube algorithms. These are letters and numbers which summarize how you should move different parts of a cube’s face (what we’ll call an entire, nine-square side of the cube).
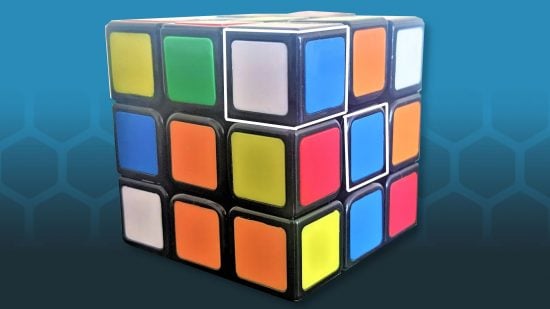
For clarity, we’ll refer to parts of the face as columns (three vertical squares) and rows (three horizontal squares). It’s also helpful to know the difference between an edge piece (which has two different-colored squares) and a corner piece (which has three).
A single letter in an algorithm means you should turn part of the face clockwise by 90 degrees. In a Rubik’s Cube algorithm:
- F = Turn the entire face
- R = Turn the right column of the face
- U = Turn the top row of the face
- L = Turn the left column of the face
- D = Turn the bottom row of the face
If any of these letters is followed by an apostrophe, this means you turn that part of the face anticlockwise by 90 degrees. If the letter is followed by a 2, you turn that part of the face clockwise by 180 degrees (basically doing the 90 degree turn twice).
If you’re having trouble picturing which way clockwise and anticlockwise turns are meant to go, here’s a tip. You’ll always have one face in front of you, but imagine whether your move is turning a different face clockwise or anticlockwise.
For example, L’ asks you to turn the left column of the front face anticlockwise. This move would turn the left face of the cube anticlockwise if that were the one facing forward – meaning you turn the left column of the front face away from you. On the other hand, R’ is asking you to move the right column of the front face towards you.
One of the most common algorithms you’ll need is R U R’, which is often used to adjust squares on the right side of the cube face. Its counterpart is L’ U’ L, which does the same for the left.
2. Make a cross on the white face
The center square on each face of your Rubik’s cube decides what color that face will be, as it’s the only one that doesn’t move. The first step to solve a Rubik’s cube is creating a cross on the white face.
It’s possible to get to this point with some experimentation, but if you want a guaranteed trick, here’s one recommended by Wired’s Robbie Gonzalez (who learned it in turn from World Cube Association co-founder Tyson Mao). Gonzalez’s video also follows the same strategy as this guide, so it’s a helpful visual tutorial of what’s coming next:

Note that, when you’ve completed your white cross, the second square on the edge piece should be on the correct face. This means, while all your white edge squares should be on the white face, the green should be on the green face, the blue on blue, and so on. Once correct, keep the white face face-down for the rest of the puzzle.
3. Complete the white face
| Algorithms used in this step |
| R U R’ |
| L’ U L |
Now it’s time to move the white corner pieces to the white face. Focus on each corner piece one at a time. Check the color of the square on the same corner piece as the white you want to move – the one that’s also in the top row (not the third one on the top face).
Rotate the top row until that non-white square is on its correct face and diagonal to its identical center square. Now make sure that non-white face is facing toward you.
If your non-white edge piece is on the right of the center square, use the R U R’ algorithm, and use the L’ U’ L algorithm if your edge piece is on the left. This should move your white corner to the correct face – rinse and repeat for all four edges.
There are two cases where these algorithms won’t work: when your white sticker is on the top face, and when it’s on the bottom row of the face turned towards you. If your sticker is on the bottom row, use the R U R’ or L’ U’ L algorithm until it’s on the top face.
Once you have a white sticker on the top face, rotate the entire top face (U) until it’s opposite a non-white sticker on the white face. If there’s a non-white sticker in the top-right corner of the white (bottom) face, you should position the white sticker so it’s in the top-right corner of the top face on the Rubik’s Cube.
Then, use R U R’ if the edge piece is on the right side of the face, or L’ U’ L if it’s on the left. Repeat the algorithm twice.
This will move a white square to the top row of the front-facing face. Use the appropriate algorithms from before to move this into place. Repeat this until all four white corners are on the correct face.
4. Solve the second row
| Algorithms used in this step |
| U R U R’ |
| U’ L’ U’ L |
| R U R’ |
| L’ U’ L |
By this time, you should have a completed white face – and the bottom row of every other face should be finished. Now it’s time to focus on the next row up.
This method solves the second row for every face except yellow (which should be face-up at all times). This is because it still gives you some room to move pieces around without displacing too many already-solved squares. Because we’re avoiding yellow for now, begin this step by focusing on edge pieces that don’t have yellow squares.
First, find an edge piece in the top row with no yellow on either of its squares (you can rotate the cube in your hands if need be, but keep the yellow face facing up and the white face facing down). Rotate the top row of the face that’s pointing towards you (U) until the top row square is on the correct face. If you’ve done this correctly, you should create a face with an upside-down T that’s all the same color.
From here, there are multiple algorithms you can use to solve the middle row of your face. Below is the one we found the easiest to pick up and the most consistent to use without getting stuck.
When your upside-down T is in place, the top-face color of the same edge piece dictates whether you need to go left or right. For example, if the top-face color of your edge piece is red and the red face is on the right side, you’ll need to use the right-face algorithm instead of the left-face one.
If you need to go right, start by using the algorithm U R U R’. If left, go with U’ L’ U’ L. Both algorithms will move a white square from your solved bottom layer, but this can easily be put back by using the moves from step two again.
With this method, you can get stuck if you run out of edge pieces with no yellow stickers. In this case, look for unsolved edge pieces in the middle row, and use the R U R’ or L’ U’ L to move them out of position. Don’t forget to fix any white piece that moves out of position before continuing to solve the middle row.
5. Create a yellow cross
| Algorithms used in this step |
| F U R U’ R’ F’ |
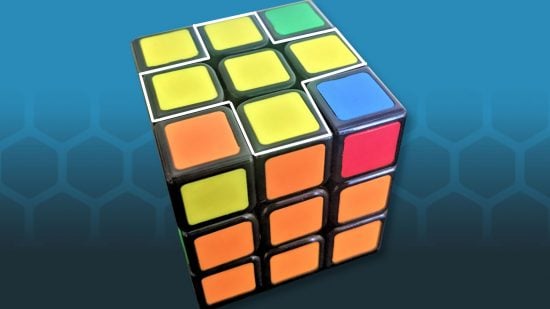
To move all the correct edge pieces to the yellow face, you’ll need the following formula: F U R U’ R’ F’. Depending on how many yellow edge pieces are already in place, you’ll need to complete this algorithm a certain number of times:
- Once if there are three yellow squares in a line (two solved edge pieces)
- Twice if the yellow squares create an ‘L’ shape
- Three times if you have no yellow edge pieces at all
This algorithm needs a few more conditions to work properly:
- If you have three yellow squares in a line, rotate the top face (U) so the line is vertical before you perform the algorithm.
- If you have an L shape, rotate the face (U) so they’re in the upper row and left column of the top face before using the algorithm.
In our experience, this is the step where you’re most likely to get stuck in an infinite loop, repeating the algorithm but not making any progress. If you find yourself in this position, try this alternative algorithm instead: F R U R’ U’ F’.
If using this algorithm, the position of your yellow stickers will need to be slightly different:
- If the yellow edge pieces create the L shape, they must still be positioned in the upper row and left column of the top face.
- If you have three yellow stickers in a line, they must be rotated into a horizontal position instead.
6. Solve the yellow face
| Algorithms used in this step |
| R U R’ U R U2 R’ |
Start by counting how many yellow corners are already solved on the top face of the Rubik’s Cube. If it’s zero or two, you need to rotate the top face (U) until one of the missing yellow corner pieces (on the wrong face rather than the top one) is in the top-right corner of the Cube’s left face. Then, perform the following algorithm: R U R’ U R U2 R’.
Repeat this until you have only one corner piece solved on the yellow face. Then rotate the top face (U) until the solved corner is in the bottom-left of the yellow face (nearest to you). Then use the same algorithm – and repeat the whole process again until you’ve solved the whole yellow face.
7. Solve the remaining corners
| Algorithms used in this step |
| L’ U R U’ L U2 R’ U R U2 R’ |
Ideally, you want at least one face to already have the correct two corner pieces. If you don’t, begin by using the following algorithm: L’ U R U’ L U2 R’ U R U2 R’.
Once you have a face with the correct corners, position the cube so that face is in your left hand. Then use the same algorithm again. Once all your corner pieces match their companion corner piece, rotate the top row (U) until all corner pieces are on the correct face.
8. Solve the final edges
| Algorithms used in this step |
| F2 U’ R’ L F2 L’ R U’ F2 |
| F2 U R’ L F2 L’ R U F2 |
If none of your sides are already solved, use this algorithm to create one: F2 U’ R’ L F2 L’ R U’ F2.
Once you do have a solved side, rotate the cube so that face is facing away from you. Then look at the colors of the unsolved squares in relation to their correct faces. Do they need to move clockwise or counterclockwise to reach their intended destination?
If clockwise, use this algorithm: F2 U R’ L F2 L’ R U F2. On the other hand, use this one to move the squares counterclockwise: F2 U’ R’ L F2 L’ R U’ F2.

Alternative ways to solve a Rubik’s Cube
The tutorial above is just one way to solve a Rubik’s Cube. There are many algorithms out there, and many experts have achieved success in different ways.
We’ve included a video showing one alternative method above. Here, you follow steps one to five of our solution, and then you solve only some of the yellow face before approaching the corner pieces of the other colors.
Need more help with classic board games? Whether you want to learn the top Scrabble strategies or how to win at Monopoly every time, we’ve got a tutorial guide. If you’re after freeform party gaming fun, we can help there too – check out our list of hundreds of quality, spicy Truth or Dare questions.
