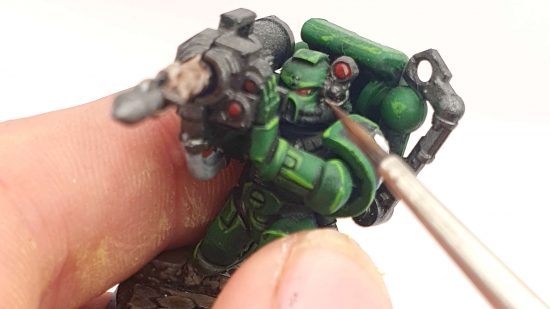
Space Marines are the first models that many Warhammer 40k collectors will paint. They offer nice big armor plates you to practise your brush control, thinning and mixing paint, and techniques like highlighting and shading. Once you know about how to paint Space Marines, you’re well on your way to being a fantastic miniature painter.
This guide is intended mostly for painters who have just gotten into Warhammer 40k and are keen to make their first ever Space Marines sparkle.
You’ll find a more in-depth explanation of the techniques in this article in Wargamer’s full guide to painting miniatures. You can follow this guide using any traditional paints for miniatures, but not Contrast Paints or their equivalents. We have a separate Contrast Paints guide with more information about them.
Here’s what you should know about how to paint Space Marines:
- Get your tools together
- Choose a Space Marine color scheme
- Official Space Marine color schemes
- Useful Space Marine sub-assemblies
- Priming Space Marines
- Space Marine base layers
- Shifting colors with layer painting
- Shading Space Marine armor
- Highlighting Space Marine armor
- Drybrushing Space Marines
- Painting Space Marine eye lenses
- Metallic Space Marines
- Official Space Marine color schemes
Get your tools together
Painting miniatures is easier if you use the right brush for the job. We have a separate guide to the best miniature paintbrushes, which suggests specific brands, but in general terms you need:
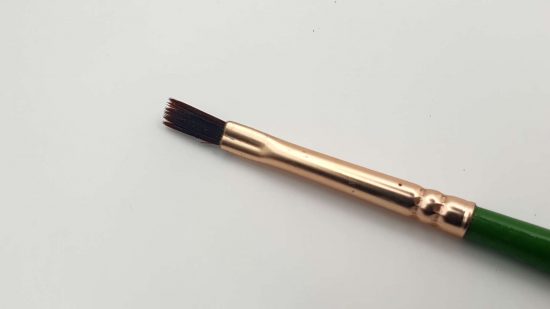
A ‘base brush’: a size three, four, or five flat brush to quickly apply colour over larger areas.
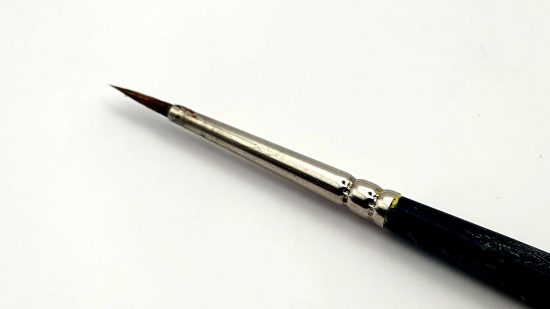
A ‘layer brush’: a size one round pointed brush for greater control and most detail work.
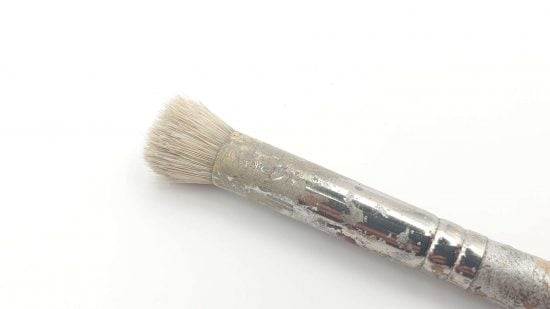
In addition, a ‘drybrush’ – a wide tipped brush with short, bristly hairs – is useful for painting furs, or some speed painting techniques. If you want to attempt very detailed work, like painting eyes or eye-lenses, a size 00 round pointed brush is useful as a ‘detail brush’.
You’ll also need a palette – which could be a plastic plate or ceramic tile – a water pot to clean your brush, and some tissues to dry your paintbrush. A good source of light is extremely helpful too.
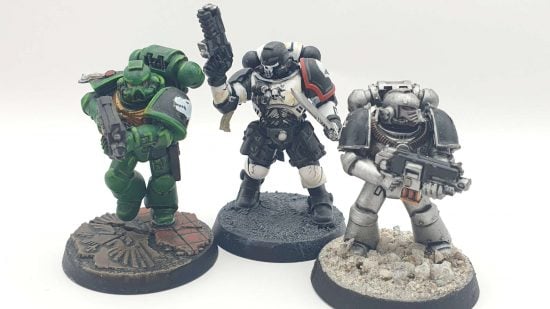
Choosing a Space Marine color scheme
The color scheme you pick for you Space Marines has two main jobs. It must highlight the important details of the model so that they’re visible while you’re playing the game, and it must look cohesive and appealing as a whole.
If you want to make a unique colour scheme, first test your colors on a spare mini or a piece of paper to see how they look together. Choose colors that contrast but don’t clash. You can find complementary colors using a color wheel – colors on opposite sides of the wheel complement one another.
White and black (and close colors, like silver and brown) complement every other color combination, so can always be added to a scheme along with the primary and contrasting color.
Space Marine armor will, typically, be painted a single, main color, though you can paint individual armor segments different colors. Other parts of the model will then be painted in the complementary color, and the ‘free’ colors (black, white, brown). A non-complementing ‘spot’ color is reserved to call out extra details.
You can see how this has been used to create two classic Space Marine paint schemes:
| Element | Ultramarines | Salamanders |
| Armor | Blue (primary) | Green (primary) |
| Shoulderpad trim | Gold (complementary) | Green (primary) |
| Shoulderpad body | Blue (primary) | Black (free) |
| Aquila | Gold (complementary) | Gold (spot) |
| Armored undersuit | Black (free) | Black (free) |
| Grenades | Black (free) | Black (free) or red (complementary) |
| Leather pouches and holsters | Brown or black (free) | Brown or black (free) |
| Gun body | Red (spot) or black (free) | Red (complementary) or black (free) |
| Gunmetal | Silver (free) | Silver (free) |
| Knife blade | Silver (free) | Silver (free) |
| Reliquary | Gold (complementary) | Gold (spot) |
| Sergeant helmet | Red (spot) | Black (free), or green (primary) with gold (spot) or orange (complementary) details |
| Eye lenses | Red (spot) | Red (complementary |
| Exhaust ports on backpack | Silver (free) | Silver (free) or bronze (complementary) |
| Purity seal wax | Red (spot) | Red (complementary) |
| Purity seal parchment | Ivory (free) | Ivory (free) |
| Icon | White (free) | White drake (free), orange flames (complementary) |
A limited color palette makes a force look coherent. You can create additional colors by changing the ‘value’ of a color – that means making it lighter or darker by adding white or black paint. For example, if your army contains plasma weaponry, you can lighten your primary or secondary color substantially to generate the color for the plasma glow.
Official Space Marine color schemes
If you want to find the exact paints used to create the color scheme for specific Space Marine chapters, we recommend the community website ‘Eavy Archive. It maintains a helpful guides that identifies the exact paints used for the models on Games Workshop’s product boxes.
If you’re using Citadel paints, the paints you need for the main block color for the main Space Marine chapters are:
| Chapter | Base paint | Wash | Layer | Highlight |
| Dark Angels | Caliban Green | Nuln Oil | Waaagh! Flesh | Warpstone Glow |
| White Scars | Ulthuan Grey | Agrax Earthshade | Ulthuan Grey | Praxeti White |
| Space Wolves | Russ Grey | Nuln Oil | Fenrisian Grey | Blue Horror |
| Imperial Fists | Averland Sunset | Casandora Yellow | Dorn Yellow | Ushabti Bone |
| Blood Angels | Mephiston Red | Agrax Earthshade | Evil Sunz Scarlet | Wild Rider Red |
| Iron Hands | Abaddon Black | Nuln Oil | Dark Reaper | Fenrisian Grey |
| Ultramarines | Macragge Blue | Nuln Oil | Altdorf Guard Blue | Calgar Blue |
| Salamanders | Caliban Green | Agrax Earthshade | Warpstone Glow | Moot Green |
| Raven Guard | Corax Black | Nuln Oil | Eshin Grey | Dawnstone |
| Black Templars | Abaddon Black | Nuln Oil | Russ Grey | Fenrisian Grey |
| Crimson Fists | Kantor Blue | Nuln Oil | Alaitoc Blue | Hoeth Blue |
| Flesh Tearers | Khorne Red | Nuln Oil | Wazdakka Red | Cadian Fleshtone |
Useful Space Marine sub-assemblies
It’s perfectly possible to paint a fully assembled Space Marine to a high standard. However, you will find it easier to paint certain parts of the model before they’re attached, in sub-assemblies.
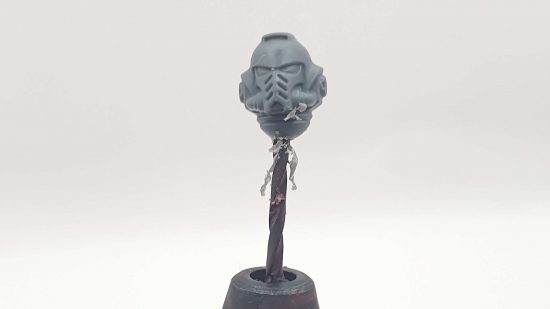
If you want to put a lot of detail into your Space Marines’ heads, don’t attach them to the model until after they are painted. Using a hobby drill, drill into the neck, then mount the head onto a pin or piece of brass rod. Alternatively, stick the neck stump into some sticky putty or blu-tack.
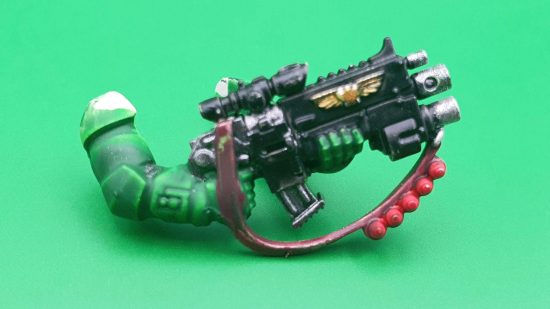
It is usually hard to paint the chest of models holding two-handed guns, such as Intercessors, when they’re fully assembled. The backs of their guns are hard to paint too. To make this easier, glue the arms and gun together, dry fitting them on the model to check the fit is good.
Once the arms are dry, you can mount them on sticky tack to paint, or use crocodile clips to hold the shoulders where they will be glued to the mini.
Priming Space Marines
Primer paint is more adhesive than other miniature paints, and once it’s dried it provides a solid foundation that other paints stick to. Many companies sell white, black, or grey brush-on primer, and Games Workshop’s ‘base paint’ range works as a brush-on primer.
The choice of primer color has an impact on how you paint the miniature. It’s easier to paint bright colors over white primer than it is over black, and visa versa for dark colors. If in doubt, use a grey primer, or a primer in the army’s primary color.
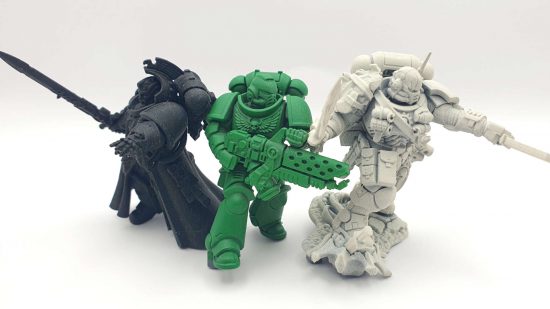
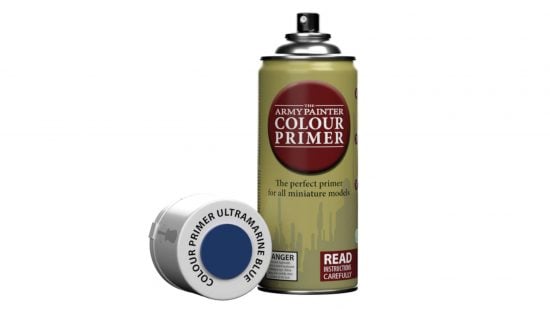
Auto body primer works really well, though it doesn’t have much color variety. Games Workshop, The Army Painter, and Colour Forge make spray primers that color match specific miniature paints in their ranges. Colored primer is an ideal way to quickly get the primary color onto your Space Marines.
Spray primers are much quicker to use than brush-on primers, but you need to use them correctly. Test-spray the primer each time you use it: atmospheric conditions, like pollen in the air or high humidity, can prevent spray primer from working well. You may need to finish hard-to-reach areas of the model with brush-on primer even after spraying.
Always use spray primer in a well ventilated area, and wear a respirator mask. Shake the primer can thoroughly before using it. If it is very cold, warm it gently under warm water – this causes the gas in the can to expand, aerosolizing the particles. We emphasise gently warming the can with warm water – aerosol cans can explode if exposed to direct heat.
Spray models from about six inches away. It’s better to spray a model lightly and give it a second coat than it is to drown it in excess spray paint. Leave models until they are dry to the touch before you move them.
Space Marine base layers
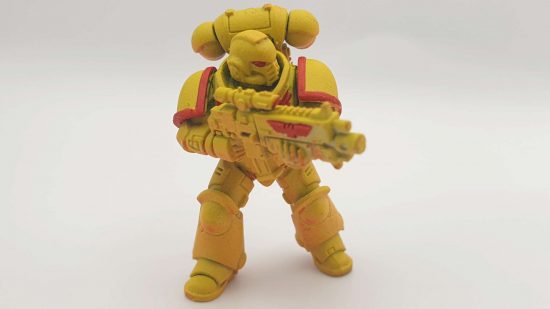
The base layer of paint is a flat layer of one color, a ‘base’ which you can build on, adding highlights and shadows to in later steps. You will apply a base layer for each of the colors on a model; if you’ve used colored primer, the base layer for your Marines’ armor will already be done, barring any touch-ups.
Start with the base layer for your Marine’s armor. Ensure that your paint is well shaken or stirred, add some to a painting palette, then thin it using water. You want it to be as thin as possible without becoming see-through or runny. Apply this all over the marine’s armour using your base brush – don’t worry about neatness at this stage.
Leave it to dry (or dry it quickly using a hair dryer or heater), then apply another thin base coat anywhere that the color is not firm and opaque.
Once this is dry, paint the base layer for all the other elements on your model, one color at a time, using your layer brush. It’s easier if you start with the most recessed parts of the model, like the armored undersuit, and work your way outwards – this reduces the risk of getting stray paint onto part of the model you’ve already painted. Don’t worry if you make a mistake – you can always paint over it.
Shifting colors via layer painting
The base paint you have used may not be the exact color that you want. That’s fine – you can paint over it using thin coats, or layers, of a different color. Games Workshop makes specific ‘layer’ paints, which tend to be a little less opaque than its base paints, and therefore aren’t suitable for priming or the base layer.
Shading Space Marine armor
To create the appearance of shadows in recessed areas of a model, we need to shade it, darkening the color. Many companies sell paints called shade paints, model inks, or washes. These are very thin, largely translucent paints.
A black shade is universally useful. Colored shades can be helpful to push certain effects or subtly imply another color: a sepia or pale brown shade will make white look slightly more aged and ivory-colored, even if you don’t change the actual white itself; a purple shade over red tends to look less stark than a black wash.
You can apply washes liberally over a model to darken the whole thing down, or carefully apply them into recesses. On Space Marines, the joins between armor plates will look much more pronounced if they are shaded, as will the wings of the Imperial Eagle insignia.
If you don’t have any shade paints, you can thin down black paint and paint it into recesses, or mix black paint and your base paint for the same effect.
You can thin down Contrast paint (or an alternative from another company) with Contrast medium, and use this as an all-over shade. Contrast wicks into recesses and tints raised areas.
An all-over shade will tend to dull down the entire model. If you’ve dulled it down more than you’d like, just reapply the previous layer to the areas you want to brighten up.
Highlighting Space Marine armor
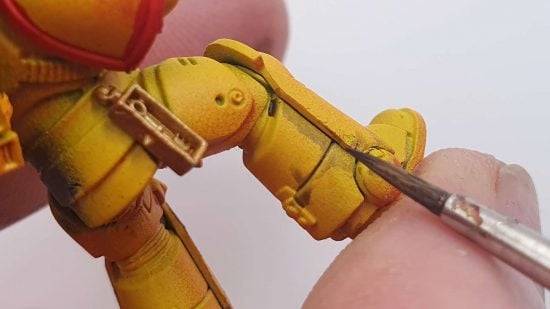
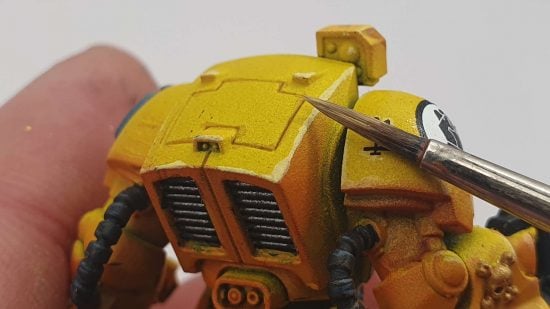
Highlighting a miniature means brightening up certain areas so that they look like they’ve caught the light. It’s the opposite of shading. ‘Edge-highlighting’ is a simple way to highlight a model – you paint along the edge of any raised surface. This is easiest to do using the edge of your brush-tip, rather than the point. You can do multiple highlights with progressively brighter colors and finer highlights.
Games Workshop offers matching highlight colors for each of its layer paints. You can also easily mix your own highlights using your main paint and a white, off-white, cream, grey, or even yellow paint.
Highlights need to be more brilliant than the color they are highlighting, but this doesn’t always mean more white – you can highlight red with both pink (red + white) or orange (red + yellow). Just bear in mind that the color of a highlight will change how people perceive the color of the main paint.
Drybrushing Space Marines
Drybrushing means wiping almost all the paint off a bristly brush, then wiping it again (the first time is never enough), then lightly flicking it across the raised surfaces of a model. This is a very quick, somewhat messy way to get highlights on a miniature.
It’s very effective for rough surfaces like the furs worn by Space Wolves. You can also use it to speed paint models, but bear in mind that this will have a very impressionistic effect – you’ll highlight all raised edges, just not equally and evenly.
Painting Space Marine eye lenses
The quickest way to paint the eye lenses on a Space Marine helmet is to paint them white, apply a contrast paint of your chosen color, then tidy up any mess around the edges afterwards.
If you want to paint detailed eyelenses, or actual eyeballs, the most important factors are:
- Make sure you have great light
- Make sure you have somewhere to rest your hands so they don’t shake
- Use your brush with the sharpest tip, not your smallest brush
- Thin your paint so it flows from the brush
- But not so much that it floods off the brush and into the recesses of the eye socket
- Don’t let the paint dry on the brush
- Practise
All the standard painting advice applies: pick your colors so they complement or contrast, use multiple thin coats of paint, apply highlights in the regions you want to look like they’re catching the light. The only difference is the precision with which you’re attempting to paint.
Metallic Space Marines
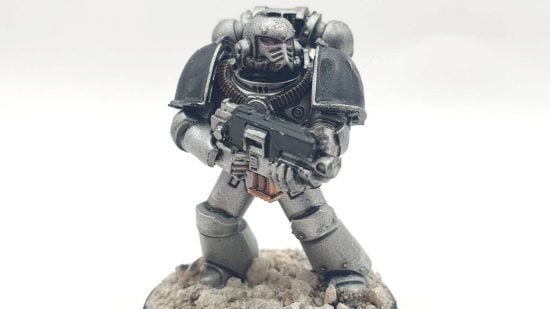
Metallic paint contains reflective pigments that catch the light, creating a metallic sheen. It behaves like other miniature paints in most regards, though mixing it with non-metallics will kill off the sheen. You can highlight metallic paints using other, brighter metallics.
When you shade metallics via an all-over wash of shade paint or thinned Contrast paint, you’ll kill most of the reflective sheen. You might like this effect – if not, apply another thin layer of the metallic paint anywhere you want to bring the sheen back.
Over small areas, or over large areas using an airbrush, Contrast and other translucent paints can be applied over a metallic base coat to create colored metallics. Red over gold produces deep ‘candy red’, while silver is a good base layer for most colored metallics.
While there’s no limit to how skilled a painter you can become, these techniques should get you well on the road to being an expert Space Marine painter. If you want inspiration for the different directions you could push your Marines in, have a look at these Pride Flag-inspired Space Marines, Formula-1 team Space Marines, and bold white Hello Kitty Space Meowrines.
