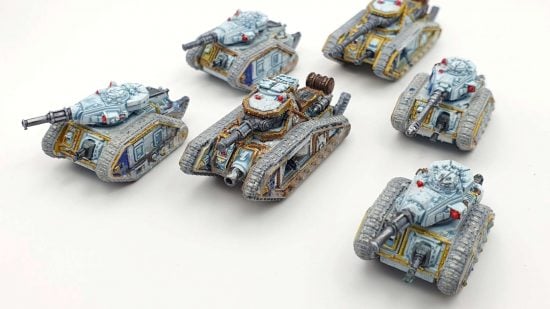
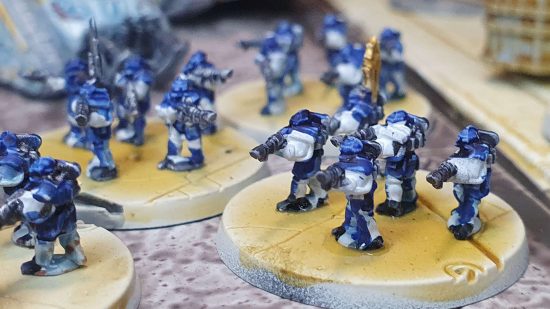
Wargamer was lucky enough to receive a hefty stack of Legions Imperialis review samples from Games Workshop, so we’ve had a lot of practise building Legions Imperialis miniatures, and hurriedly painting them in time to write our review. And though we’ve had a few mishaps, we’ve learnt plenty of tips that will make it easier for you to put your minis together when you get them.
If you’re undecided on the game itself, check out our Legions Imperialis review in progress. If you’re dead keen to play but didn’t secure a starter set during the pre-order, check out our guide to Legions Imperialis terrain, which will help you to construct a small-scale battlefield ready for your tiny armies to make war.
How to build Legions Imperialis miniatures
You’ll need a mixture of different glues to build Legions Imperialis miniatures:
| Glue | Useful for |
| Tamiya extra thin cement | Sticking together tight-fitting pieces with small contact areas, particularly on tanks. |
| Polystyrene cement | Joining pieces with larger contact areas, such as connecting the two halves of an Ogryn Charonite |
| Thin cyanoacrylate (superglue) | Sticking infantry to bases, and some problematic small joins. |
Legions Imperialis miniatures are very, very small, and they come in many parts – a Leman Russ is less than 1″ long and 1/2″ tall but contains 10 parts. Losing components is a real risk. Ensure that your hobby area is clear before you start building. If possible, try and build your miniatures over a tray or box lid, to catch any parts that fly off.
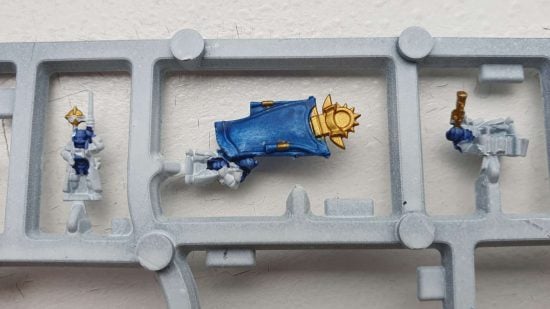
We recommend that you don’t remove basic infantry from the sprue until after they’re painted. These are so tiny that supergluing them onto painted bases will be just fine.
Most infantry models are attached to the sprue by one sprue gate, but some are attached by two. Cut away the one that is attached to the body of the model, rather than the base, so you can fully paint the model.
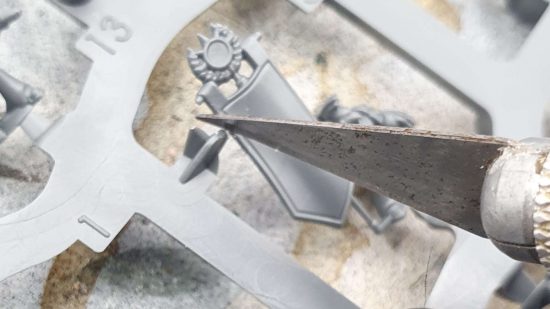
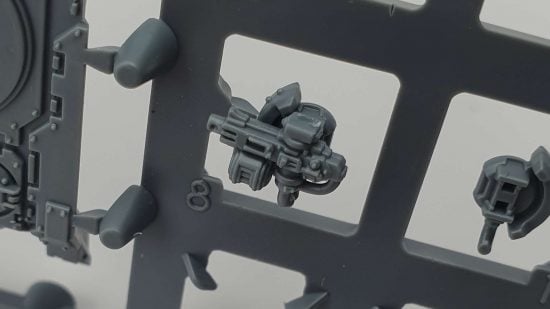
Some infantry have infilled areas of waste plastic, such as between the guns and bodies of marines. These are intentionally included to make demolding the miniatures possible, and from tabletop distance they’re not noticeable when painted a dark color. If you’re planning on taking close-up photography of your minis, you can cut them away carefully with a scalpel.
Space Marine missile launchers are difficult to attach using Tamiya extra thin, and we don’t trust regular poly cement not to damage such tiny miniatures. Thin superglue applied via a fine-detail nozzle is the best way to get missile launchers to stick in place.
Mold lines are not a big problem on most of these miniatures, but burrs left behind from cutting the miniature off the sprue must be removed, particularly under the feet of infantry. We used a scalpel, and a modelling file will also work, though may be a bit big for the job. Be careful that you don’t remove details on the mini while you’re cleaning it up – we nicked the top off a Predator exhaust through overzealous cleaning.
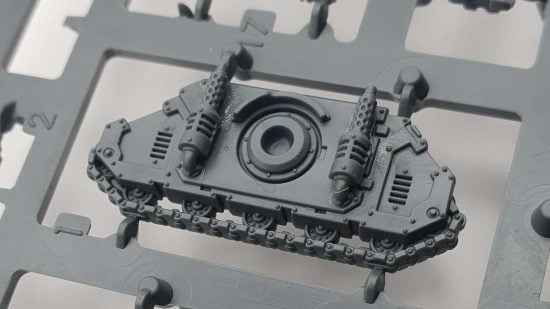
Some small parts are easier to assemble on the sprue. The exhausts on Legionary Predators are definitely easier to place onto the chassis while the chassis is on the sprue. You may also find it easier to assemble Legionary tank sponsons on the sprue.
Tamiya extra thin cement is great for sticking together vehicle chassis. First, dry fit the parts of the vehicle together. Then, liberally apply the thin glue along the join. The extremely fluid glue will wick into the miniscule gap between the parts, leaving a very clean join. If you’re using regular polycement, use as little as possible, to prevent it splurging out from the join and melting surrounding detail.
It’s effectively impossible to magnetise most of the weapon options on models this small, so whatever you load out your vehicles with, you’ll be sticking with it. We can’t say if some loadouts are objectively good or bad, but some are certainly situational. Consider playing some test games before you commit to your weapon options.
There are more Warhound weapon arms than there are Warhound bodies in the box set. It’s possible to magnetise these arms. You could carefully slice off the end of the ball joint connector for the Titan’s upper arm, drill a pilot hole, then carefully drill a small recess for a neodymium magnet. Or do what the author did, and order some 3D printed Battle Bling Magnet arm upgrades, which do all the hard work for you.

Painting Legions Imperialis miniatures
Contrast paints (and 3rd party alternatives) are your friends when it comes to painting Legions Imperialis miniatures. Every part of the minis is covered in minute detail that Contrast paints will wick around, highlight, and shade.
If you want to enhance the shading on parts of the model, such as between armor panels or around hatches on a tank, a 50/50 mixture of your base Contrast color and a darker shade will work a treat.
Our Solar Auxilia were painted predominantly with Army Painter Speed Paints, using a Mega Paint Set provided by the manufacturer as a product sample. The Metallic Speed Paints were particularly useful for painting the weaponry and back apparatus on our infantry, and the tracks on tanks.
Drybrushing also works a treat, and is a very fast and effective way to highlight your models. There’s no special tricks here – it works exactly the same as it does on bigger miniatures.
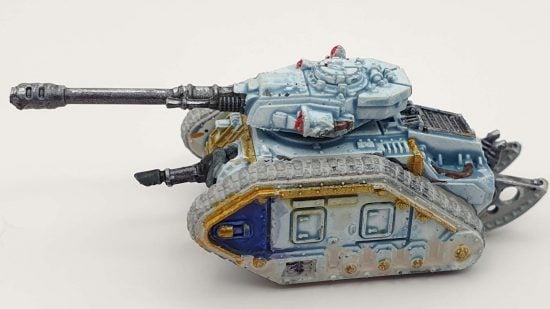
Weathering is very easy on such small miniatures, and doesn’t require special materials. Washes of thinned acrylic paints for miniatures will look perfect as a layer of dust or mud.
How to transport Legions Imperialis miniatures
Legions Imperialis miniatures are really, really small. With the exception of Titans and aircraft, almost every model is extremely short, between ¼” and ½” tall. Normal, foam lined army storage cases will be excessively large for these minis, while smaller skirmish trays won’t have enough cells to hold all the minis. So how should you transport Legions Imperialis miniatures?
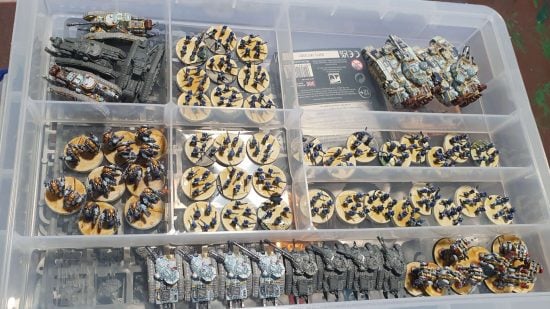
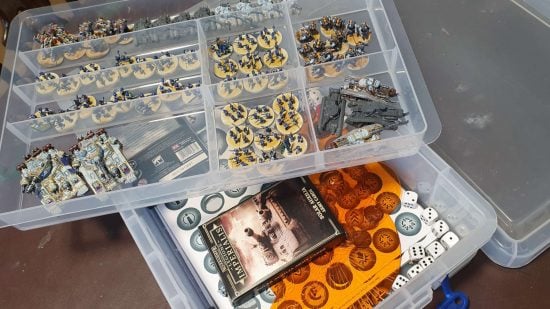
We’ve found that 4 liter and 9 liter Really Useful Boxes (RUBs) with a stationery tray insert are absolutely perfect. The photo above shows a stationery tray with all the Solar Auxilia infantry and tanks from two starter sets, plus two super-heavy tanks, with room for more.
If you’re using a 4 liter RUB, there’s room under the stationery tray to store dice, rulers, unit cards, and templates. A 9 liter RUB has room for taller models, including the smaller marks of Warhammer Titan or planes on flight stands.
You could limit how much these bigger models can move by using the 9 liter box tray insert, or stick magnetic sheet to the floor of the box and get add wide, 1mm thick neodymium magnets to the bases of the models.
In case it doesn’t show, we’ve really enjoyed building the Legions Imperialis miniatures we have; the author has an order in with his local game store to expand his collection.
If you’re new to miniature painting in general and want some more fundamental tips, check out our guide on how to paint miniatures. Our how to paint Space Marines guide is particularly geared towards beginners – they’re the minis most people start with, after all.
